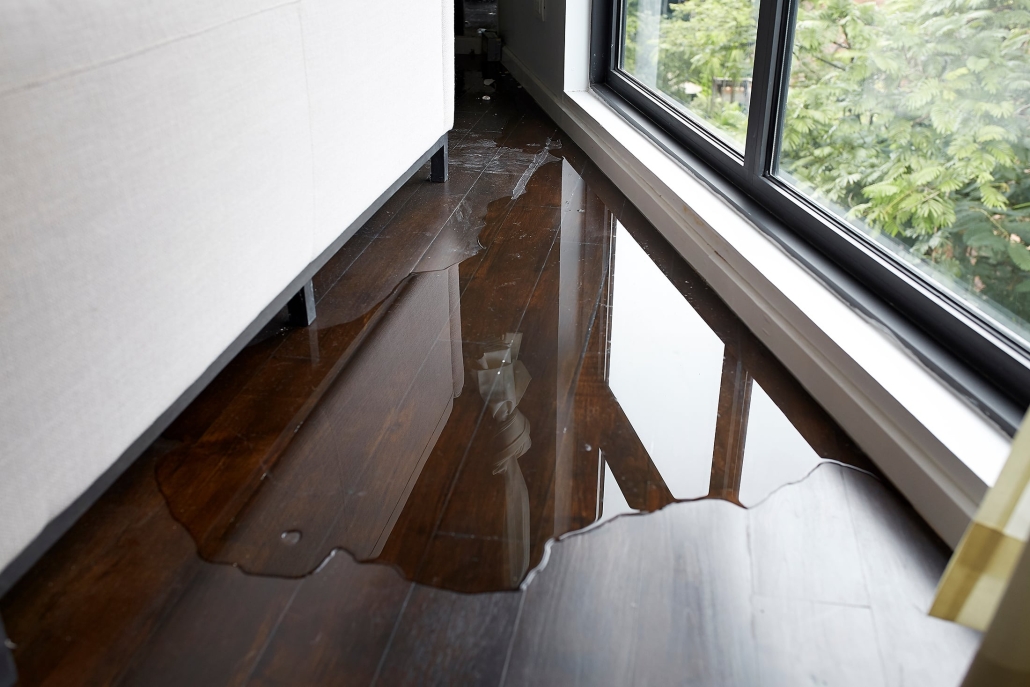
Water Leak Inside Your Walls
Water Leak Inside Your Walls, Steps to Find and Fix
Water Leaks? A major headache for homeowners. They not only cause damage to your property but can also lead to more significant problems like mold and mildew growth. One of the most frustrating types of water leaks is those inside your walls, which can be challenging to detect and fix. This information will help you find a water leak inside your walls caused by plumbing issues and what to do.
Step 1: Look for Signs of Water Damage
The first step in finding a water leak inside your walls is to look for any signs of water damage. This could include peeling paint or wallpaper, bubbling drywall, or water stains on the walls or ceiling. You may also notice a musty odor in the affected area. These signs can indicate a leak inside your wall, even if you cannot see any visible water.
Step 2: Check Your Water Meter
If you suspect a water leak, the next step is to check your water meter. Ensure all faucets and water-using appliances are turned off, then check the meter to see if it is still running. If the meter is still moving, this may indicate that you could leak somewhere in your plumbing system.
Step 3: Test Your Toilet
Toilets are a common source of hidden water leaks. So, add a few drops of food coloring to the tank to test your toilet, and wait 20 minutes. If you see the water in the toilet bowl change color, it means there is a leak between the tank and the bowl.
Step 4: Use a Moisture Meter
If you cannot locate the leak's source, you may use a moisture meter to help pinpoint its location. These tools measure the moisture in your walls and can help you determine the extent of the damage. It is best to use a moisture meter specifically designed for building materials.
Step 5: Call a Professional Plumber
If you have tried all these steps and still cannot find the source of the leak, it is time to call a professional plumber. They have specialized equipment and expertise to locate and fix hidden water leaks. To prevent further damage to your home, it is essential to contact a professional if you cannot find or fix the source of the leak.
Step 6: Fix the Leak and Repair Any Damage
Once the leak has been located, it is crucial to fix it immediately. Depending on the severity of the leak, you may need to replace pipes or tighten a loose connection. After selecting the leak, you will also need to repair any damage caused by the water. This may include replacing drywall or flooring and addressing mold and mildew growth.
Step 7: Take Preventative Measures
It is essential to take preventative measures to prevent future water leaks inside your walls. This includes regular plumbing system maintenance, such as checking for leaks and repairing them promptly. Consider installing water leak detection devices, alerting you to potential leaks before they become a bigger problem.

The EPA website is a great resource, Our Water section check out the Fix a leak week here.
Conclusion
Water leaks inside your walls caused by plumbing issues can sometimes be challenging to detect and fix, but with these steps, you can minimize the damage and get your home back to normal. Remember always to take immediate action regarding water leaks, and don't hesitate to call a professional if you need help locating or fixing the issue.
You can have peace of mind that your home stays safe from hidden water leaks in the future with proper maintenance and preventative measures. So, remain vigilant and take care of any plumbing issues before they become major headaches for you and your family. Keep these steps in mind, and you'll be able to identify and fix a water leak inside your walls quickly. With these tips, you can effectively handle plumbing issues and maintain a healthy and functional home. So, remember to always stay on top of maintenance and address any leaks promptly to protect your property from damage. With the proper knowledge and steps, water leaks don't have to be a significant headache. Take control of your home's plumbing and keep it leak-free!


