Is There a “Correct” Hot Water Heater Temperature you Should be Set On?
Sure, most everyone knows the function and importance of a properly functioning water heater. However, were you aware that your Water Heater Temperature if not properly set can cost you big on your energy bill? Likewise, if you set your Water Heater Temperature you could be short on hot water, or even worse.
In this post, we will examine and explain what Water Heater Temperature you will want to be at. We will detail the "when's and why's," and in doing so, help you to conserve both hot water and money.
Is There a "Recommended" Temperature I Should Know Of?!?!
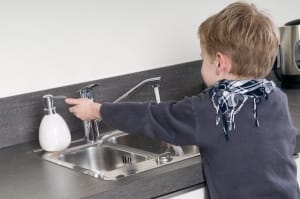
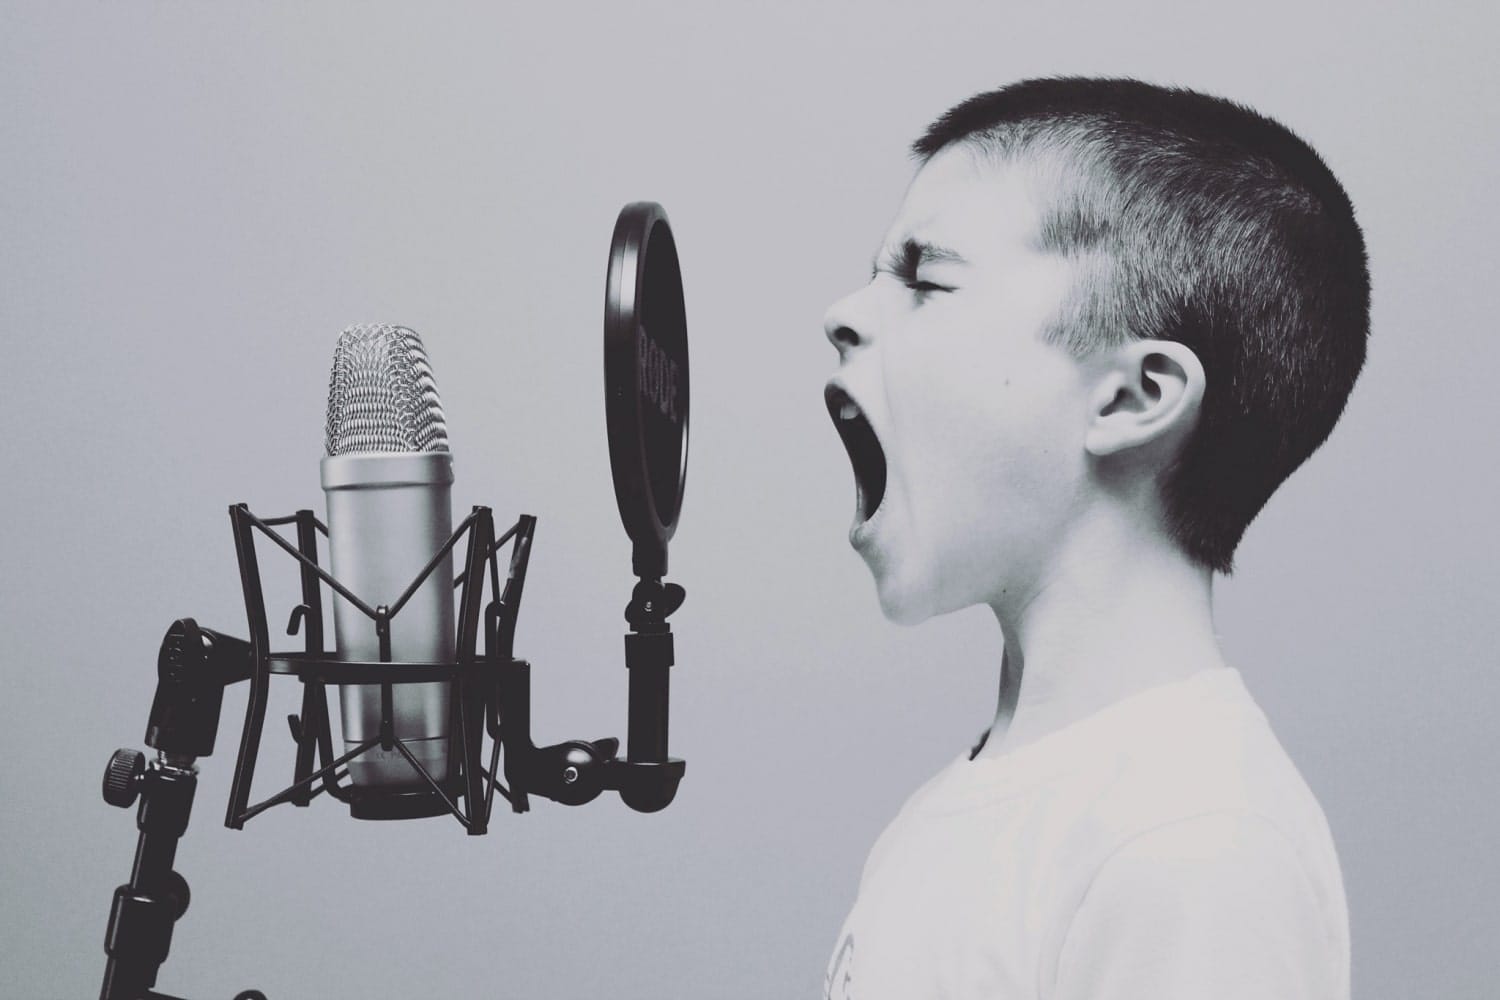
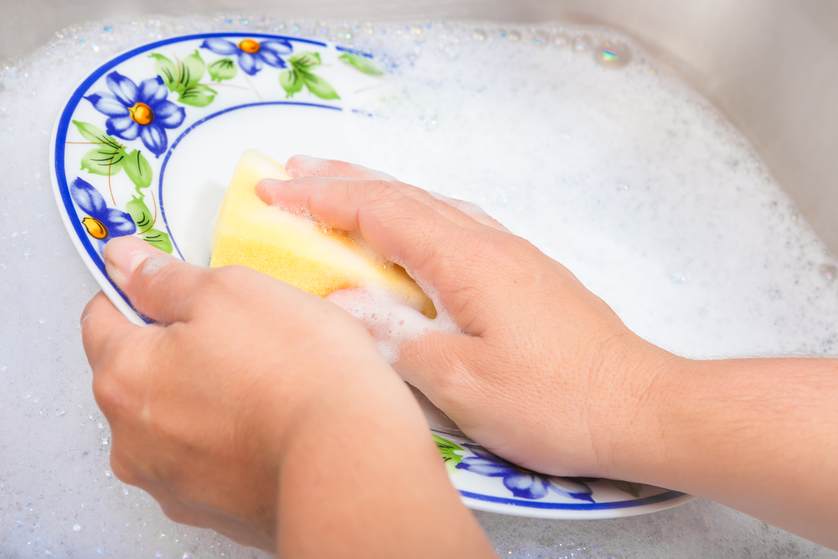
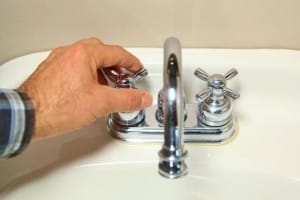
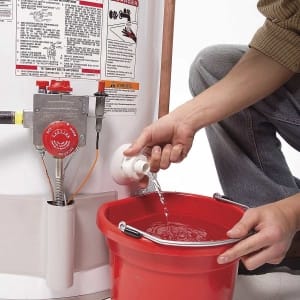
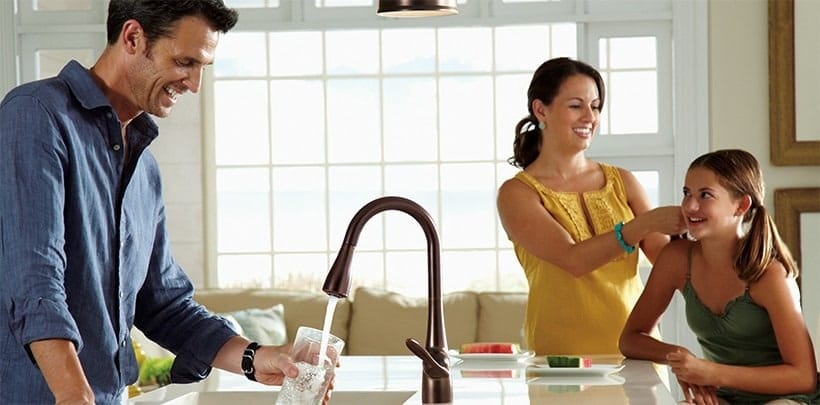
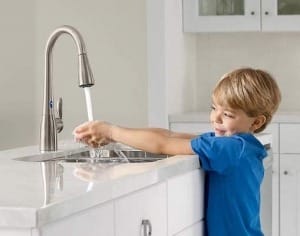
Being sure your temperature is not set too high can ensure little hands don't get a burn.
Considering that your water heater accounts for just under twenty percent of your home's energy, you should be familiar with Water Heater Temperature. If you are not, we will detail different factors you may not have thought of below.
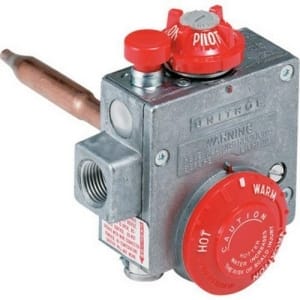
One constant with Water Heater Temperature is it should not be set under 120 degrees. This not only ensures ample hot water but also prevents disease. Yes, disease, as stagnant water in a tank under 120 could grow bacteria. This could lead to a variety of illness issues, perhaps most dangerously, Legionella. Also, when at 120 degrees, you are low enough to eliminate scalding and stay efficient.
Factors to Consider for Water Heater Temperature Setting
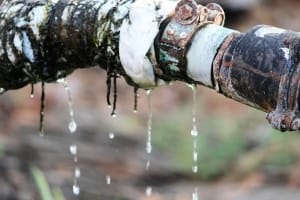
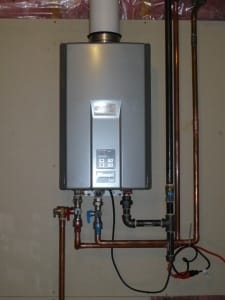
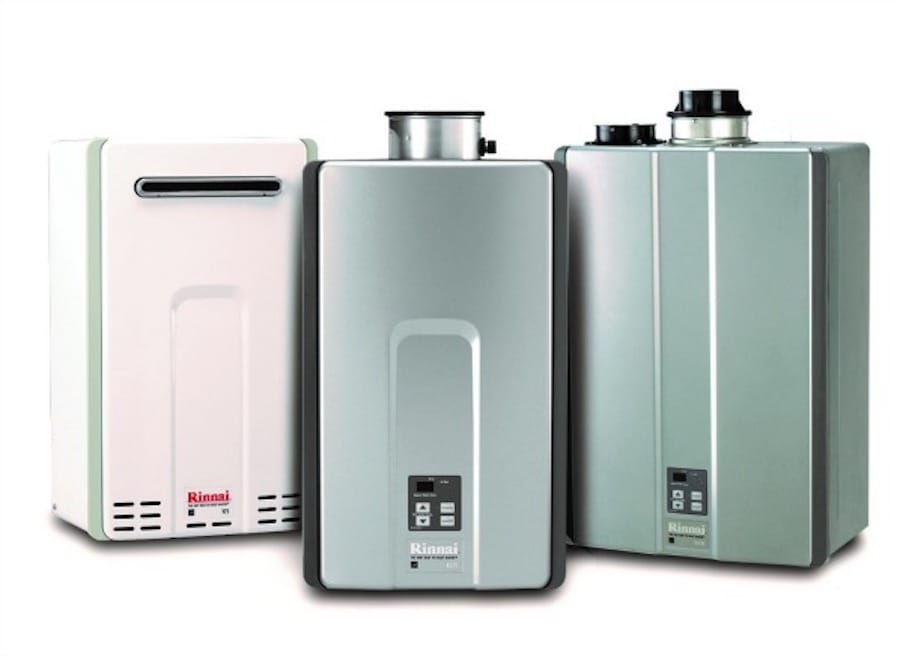
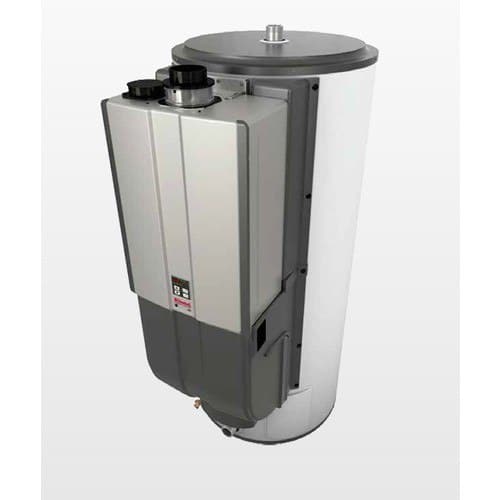
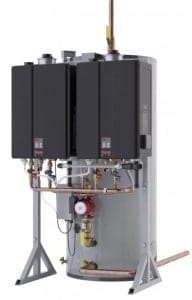
Contrary to popular belief, the below recommendations have nothing to do with the type of plumbing that you have or materials your pipes are made from. Likewise, gas or electric does not play into our suggestions. Nor does your style, be it, a tankless or traditional style heater unit.
Different Temperatures and Why To Set Your Heater to Them or Why Not To
As noted, 120 degrees Fahrenheit is a temperature that will keep bacteria from growing and in many cases work just fine. However, there are reasons to set the temperature to numbers other than that as well.
Some of the specific temperature settings and reasons for these are below.
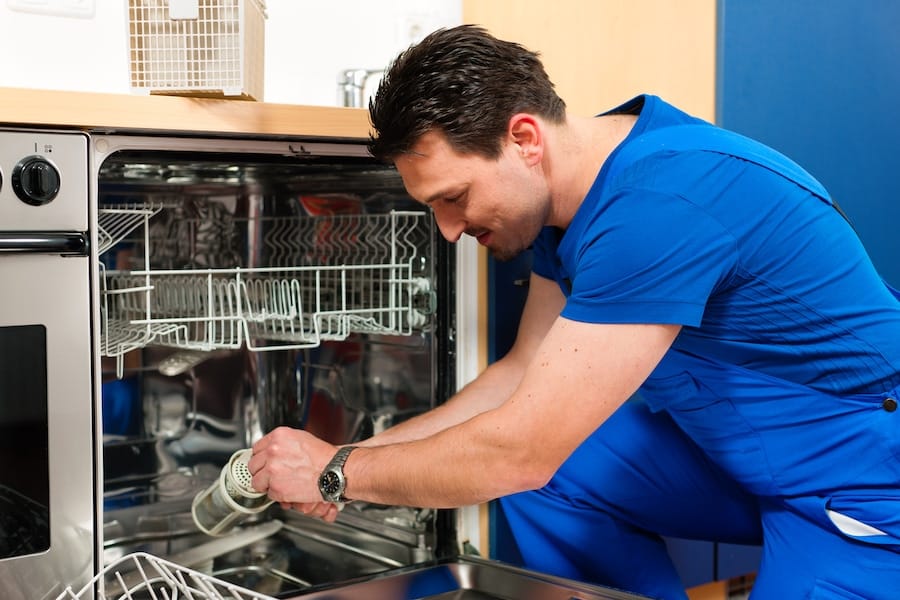
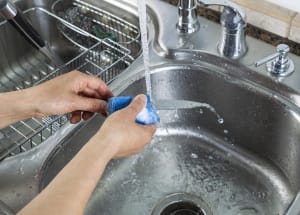
- If you have a dishwasher at home without a "pre-heating" function. You will want to set Water Heater Temperature to 140 degrees
- Likewise, if you have a weak immune system or respiratory disease, you also want the dial at 140 degrees
- In a home with either elderly or very young occupants, it may be best to set the Water Heater Temperature to 120. At babycenter.com, it explains. "It takes just two seconds for a child to receive third-degree burns from water that is 150 degrees and five seconds if it is 140 degrees." Many units leave a store set to these temperatures, so be careful.
Is There a Difference in Setting that Depends on the Number of People in a Household?
In short answer form, yes, this certainly can factor into your decision. Take for example a situation in which someone lives by themselves. Since the demand for hot water is less, these individuals may opt to keep the Water Heater Temperature down. On the contrary, those in a larger household, have a larger demand for a higher amount of hot water. In this situation, they may choose a slightly higher Water Heater Temperature.
Basically, to save on your energy costs through Water Heater Temperature settings, figure that every ten degrees less you set the water to will save 3-5 percent on your bill.
Poole's Plumbing Can Answer Your Water Heater Temperature Questions
While this all seems a real easy process to read, we know sometimes things such as temperature selection can be more complicated. The number one name in Raleigh area water heater experts, Poole's Plumbing will assist you with any further questions or work you need help with on yours. To contact us, visit our website at poolesplumbing.com.