“Check to Avoid a Wreck”: Indoor Spring Plumbing Tips from Poole’s Plumbing
Following the first post from this series, in this article, we will offer Indoor Spring Plumbing Tips. Just as with the outdoor checklist from the first offering of this series, these are things you can easily do yourself. However, despite being simple tasks, they can be the difference in major damage and wreckage due to a plumbing mishap if not monitored.

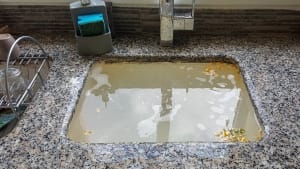
A clogged drain can lead to much worse problems when unattended too.
To many, plumbing can seem a somewhat intimidating thing to personally stay on top of. Thus, many feel when discussing plumbing and weather change they are not equipped to do their own upkeep. However, with these Indoor Spring Plumbing Tips, anyone can monitor their situation and thus avoid unnecessary issues.
Major Checking Points for Indoor Spring Plumbing Tips to Avoid Plumbing Disasters Inside Your Home as Winter Changes to Spring
- Faucets
- Drains
- Shower Heads
- Toilets
- Water Supply Valve
Keeping it Unclogged: Indoor Spring Plumbing Tips for Inside Faucets and Drains
Ok, to start, this would seem one that everyone would already be aware of, right? Well, surprisingly, not everyone acts on things that are right under their noses in everyday life. One such item would be the first we touch on in our Indoor Spring Plumbing Tips. This would be checking all faucets.
Whether in the kitchen, bathrooms, laundry room or wherever you have a faucet, this is one is easy to upkeep. Simply look and be aware of your daily use of faucets that there are no leaks. Regularly checking for leaks and monitoring usage will help you conserve water. Likewise, it gives you the peace of mind that your faucets in no way are leaking and thus causing bigger problems.
In the same vein, just keeping a watch over all inside drains can be another way to avoid plumbing issues. As we all know, items like soap, hair, toothpaste caps, etc. can wind up causing a clog in our drains. One blockage can eventually lead to more serious blockages, that can spell disaster. Keeping an eye out as we suggest in these Indoor Spring Plumbing Tips can make all the difference in avoiding clogged drains. Similarly, the use of filters on all your inside drains can also prevent buildup that can lead to a costly clog.

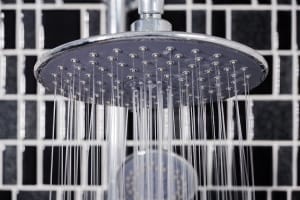
A clean shower head can save money and conserve on wasteful usage.
A "Wrap" Can Keep Shower Heads Clean and No Deposits Will Be Seen
Much as the case is with faucets and drains, moving to the bathroom, showerheads are another easily clogged item. Our Indoor Spring Plumbing Tips continue with an easy at-home method of being sure your shower head is free and clear of clogs. A clean showerhead, like a faucet, can keep you assured of one less area that could lead to a larger plumbing issue in time.
The simple at-home method to keep your showerhead clean only takes 24 hours, with very little effort needed. This do-it-yourself solution among our Indoor Spring Plumbing Tips begins with a zip-lock baggie. First, remove your showerhead and place it in the baggie. Then fill the baggie with white vinegar and use a rubber band to tightly secure the baggie around the showerhead. Lastly, allow the showerhead to soak in the vinegar-filled baggie for 24 hours. This process breaks down mineral deposits and leaves the showerhead clean and clog-free.
Indoor Spring Plumbing Tips for 'Toilet Testing': Wiggling and Settling to Be Sure
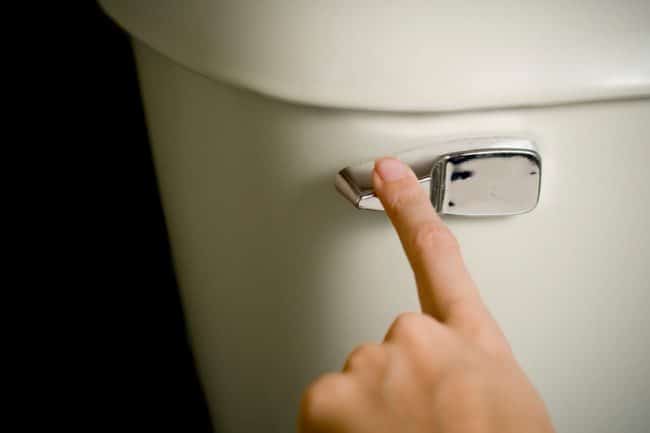
Staying right in the bathroom for the next portion of our Indoor Spring Plumbing Tips, we look at the toilet. Once again, these simple at-home methods we suggest are to be sure your toilet has no cracks or leaks, which obviously could lead to larger issues. For our first "test" you can conduct, we give you the "flush test." This begins with, you guessed it, flushing your toilet. If after you've flushed, the water flow does not seem to stop, wiggle or shake the handle. This should stop the water flow. However, if you needed to wiggle the handle, this is a red flag that something is wrong. Luckily, the "flush test's" resulting in a wiggle is an inexpensive fix. Basically, it means you need to replace certain parts in the toilet's tank. Following the instructions can then lead you to which parts you need to replace, but any and all of those parts are a minuscule investment compared to the costs you would face if this went unattended to.
Another obvious issue to look for with your toilet is any cracks. With a cracked toilet comes leaks, which not only can cause water damage but also can prove costly financially. A proven way to check for any leaks is the tried and true food color test. Follow the simple steps below to use this test to check for leaks.
Simple Indoor Spring Plumbing Tips to Check for Leaky or Cracked Toilet
- Remove the lid from on top of your toilets' tank
- Add a few drops of food coloring to the water in the tank
- Let the food coloring settle in the tank for 30 minutes
- When this time is up, observe the water in the toilet bowl
- If the water in the bowl has changed colors when you check after 30 minutes, there is a leak.

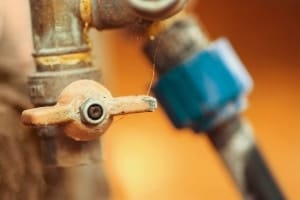
Know the location of your main shut off valve and check it regularly to avoid possible plumbing situations.
Awareness of a Sticky Valve to Avoid a Sticky Situation
The final of our Indoor Spring Plumbing Tips starts with you either knowing where or locating where your water supply valve is. Regardless of what season or the temperature, you should know where this is located regardless. Assuming you do know where the valve is another easy 'DIY' solution is to check the valve regularly.
The valve check is to be certain that it is not sticking. Just turn the valve on and off several times to do this check, so you are sure it is functioning smoothly. A stuck valve may seem a small problem at first, but if ignored can lead to serious issues eventually.
This concludes our Indoor Spring Plumbing Tips from the experts at Poole's Plumbing. To go back and see our outdoor plumbing tips for the upcoming season, visit the blog/news section at poolesplumbing.com.


