

Fixing Your Flush Valve Before Brown Friday Strikes
Fixing Your Flush Valve — Thanksgiving is around the corner, and you know what that means—Brown Friday, the busiest day for plumbers, is fast approaching. Why? Because everyone’s plumbing gets a workout over the holidays. And trust us, you do not want to be on a first-name basis with your plumber that day. Let’s get those toilets ready for action!
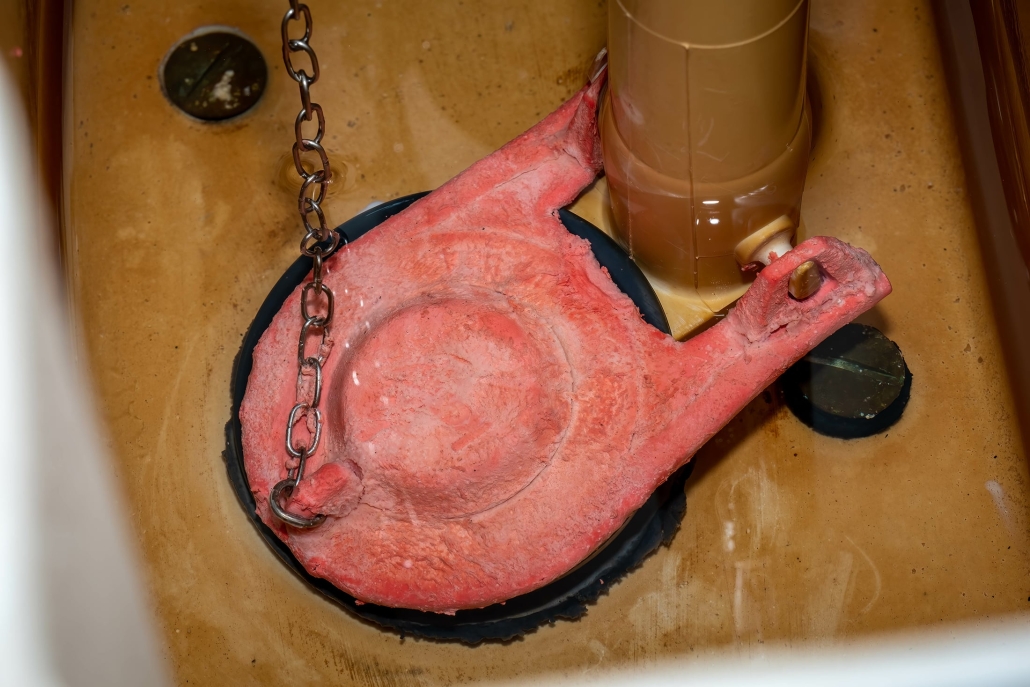
Keeping your toilet in tip-top shape is crucial for household convenience and water conservation. At its heart lies the flush valve, the unsung hero responsible for releasing water from the tank to the bowl. If it’s acting up, you might find yourself facing a running toilet or half-hearted flushes, which isn’t just annoying but also a drain on your utility bill. Here’s your guide to fixing it, DIY style.
Spotting a Flush Valve Gone Rogue
Before you roll up your sleeves, know the signs of a rebellious flush valve:
- Running Toilet: If your toilet keeps running like it’s training for a marathon, blame the flush valve or flapper.
- Incomplete Flush: Still seeing ghosts of flushes past? Your flush valve might be slacking.
- Drip, Drip, Drip: Constant dripping into the bowl? That seal isn’t sealing.
Tools for the Job
You’ll need:
- Adjustable wrench
- Screwdriver
- Sponge or towel
- New flush valve
(Most flush valves are interchangeable, but it depends on the size of the ceramic flush hole in the tank.) - Replacement flapper (optional, if yours has seen better days)
- Bucket or container
Having your tools ready makes you feel like a real pro!
How to Tame Your Flush Valve in 5 Steps
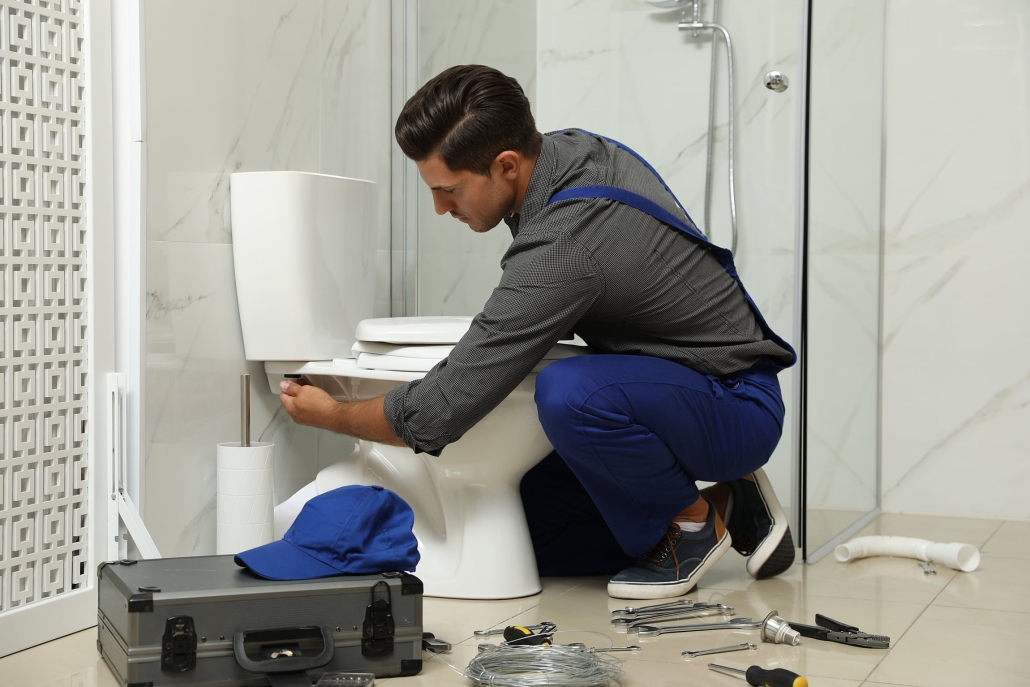
Step 1: Shut Off the Water Supply
Turn the shut-off valve clockwise behind the toilet until the water stops. Flush once to empty the tank, then use a sponge to soak up any stubborn water.
Step 2: Drain the Tank
Ensure the tank is bone dry to avoid a watery mess later. Use your trusty sponge or towel to mop up.
Step 3: Remove the Misbehaving Flush Valve
- Detach the water supply line at the tank’s bottom with an adjustable wrench.
- Unscrew the two bolts that are holding the tank to the bowl and gently lift it off, setting it aside carefully.
- Unscrew the locknut to locate and remove the old flush valve. Be gentle on the plastic parts; they’re fragile!
Step 4: Meet the New Flush Valve
- Insert the new valve into the tank’s hole like it’s going home.
- Hand-tighten the locknut to secure it.
- Reattach the flapper valve chain to the flush lever. Teamwork makes the dream work!
Step 5: Reassemble the Tank
- Carefully place the tank back on the bowl, lining up bolts with holes.
- Tighten bolts evenly to avoid any porcelain drama.
- Reconnect the water supply line.
Testing and Maintenance Tips
Fire up the water supply and watch the tank fill. Flush and admire your handiwork:
- Look for leaks around the base and between the tank and bowl. Tighten connections if needed.
To keep things running smoothly:
- Regularly check the flush valve and flapper for wear.
- Clean the tank’s interior to prevent mineral buildup.
Conclusion
Repairing your flush valve is easier than cooking a turkey and less stressful, too! By tackling the issue head-on, you’ll keep your water bill in check and your toilet in top form.
If things go south, and you’re up to your elbows in leaks, give Poole’s Plumbing a call. Our emergency service is available 24/7. Just dial our main number and press option 9 to speak with an on-call technician. We’re here to ensure your plumbing stays drama-free, even on Brown Friday!


